
MyChart eCheck-In Instructions
Seven days before your appointment, you’ll be able to complete eCheck-In. eCheck-In takes the place of the questions and paper forms you would fill out at a regular medical appointment. Follow these steps to do eCheck-In.
Steps for eCheck-In
Step 1
Log into MyChart and look at appointments.
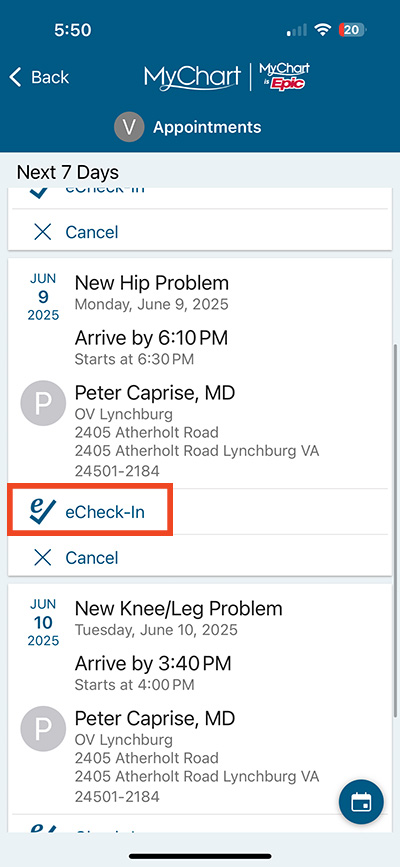
Step 2
Select eCheck-In next to the appointment you want to check in for.
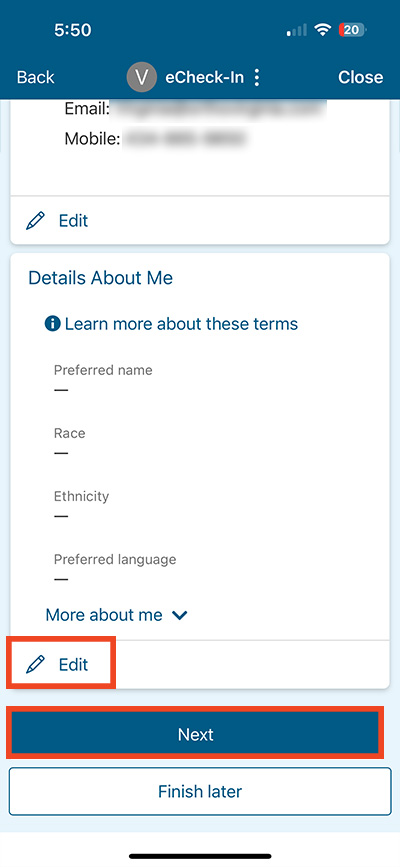
Step 3
Edit to fill out any details about yourself, then choose Next.
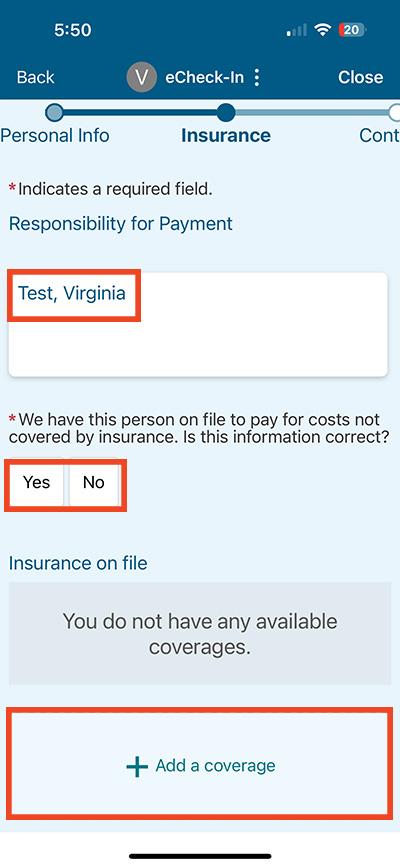
Step 4
Fill in insurance information as needed.
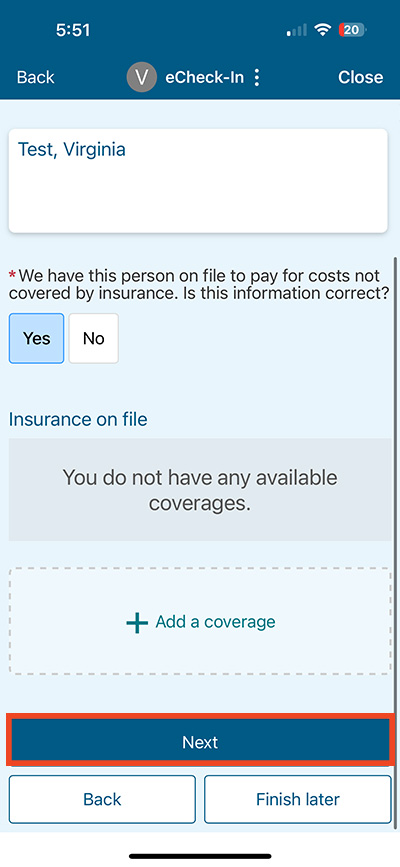
Step 5
When you have filled in insurance information, choose Next.
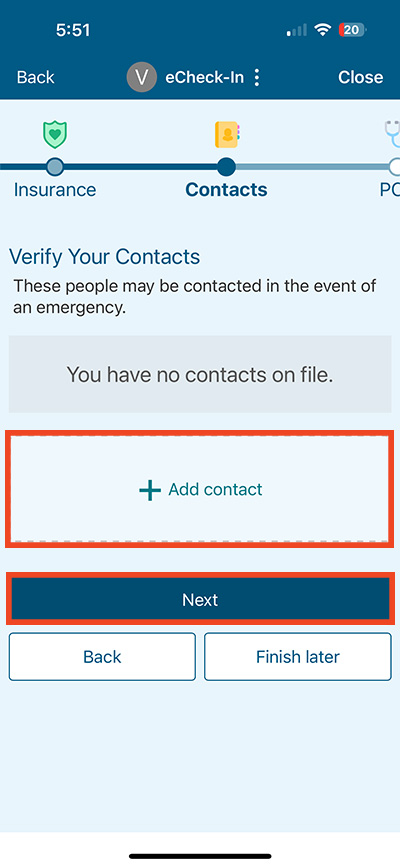
Step 6
Add any emergency contacts needed then choose Next.
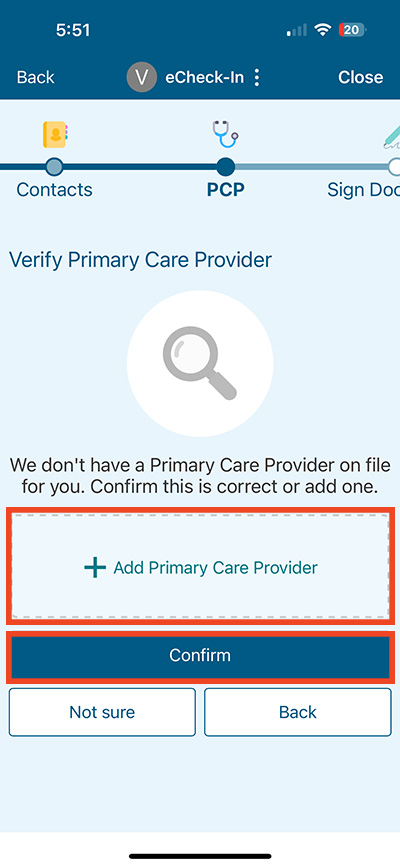
Step 7
Add your primary care provider then select Confirm.
Step 8
Review and sign the Patient Agreement then choose Next.

Questions?
If you need additional support using your MyChart account, email us at [email protected] or call our MyChart patient support line at 877-701-6088.